


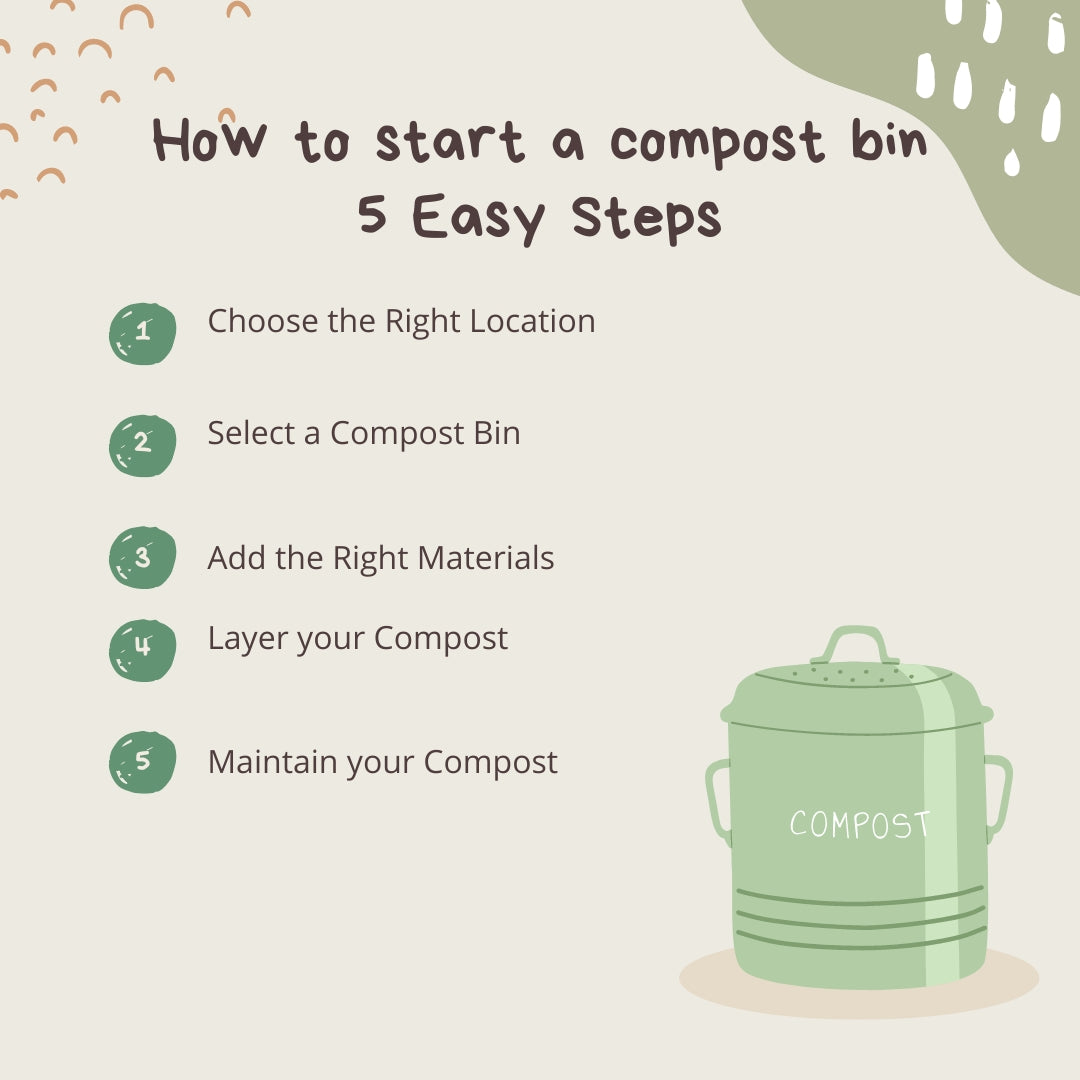
How to Start a Compost Bin: A Beginner's Guide to Composting
Composting is an eco-friendly way to recycle your kitchen and garden waste, turning it into a nutrient-rich soil amendment for your plants. In this article, we will guide you through the process of starting your own compost bin, including the materials needed, how to maintain it, and the benefits of composting. Let's get started!
Step 1: Choose the Right Location
Choosing the right location for your compost bin is crucial for its success. The ideal spot will support the decomposition process, help manage moisture levels, and allow for easy access and maintenance. Consider the following factors when selecting a location for your compost bin:
- Accessibility: Pick an area in your garden or yard that is easily accessible, so you can conveniently add new materials, turn the pile, and monitor the composting process. A spot close to your kitchen or garden waste sources will make it easier to transport scraps to the bin.
- Drainage: Select a level, well-drained area to ensure that excess moisture can easily escape, preventing your compost from becoming too soggy or waterlogged. Good drainage is essential for maintaining aerobic conditions and promoting efficient decomposition.
- Shelter: While your compost bin needs partial sunlight to help maintain the right temperature for decomposition, it should also be sheltered from strong winds and heavy rain. Too much direct sunlight can cause the compost to dry out, whereas excessive moisture can lead to a slow, anaerobic decomposition process and unpleasant odors.
- Space: Make sure there is enough space around your compost bin to facilitate turning the pile, adding new materials, and collecting the finished compost. Plan for extra space if you want to expand your composting efforts or add additional bins in the future.
- Wildlife: If your area has a problem with rodents or other pests, consider placing your compost bin on a hard surface, like concrete or paving stones, and using a bin with a secure lid to deter unwanted visitors. Additionally, be mindful of nearby trees or structures that could provide access for animals to climb into your compost bin.
By carefully considering these factors and choosing an appropriate location, you will create a suitable environment for your compost bin. This will enable it to function efficiently, producing high-quality compost for your garden and contributing to a more sustainable lifestyle.
Step 2: Select a Compost Bin
There are several types of compost bins available, each with its own advantages and disadvantages. It is important to choose one that suits your needs, budget, and available space. A well-designed bin will help to maintain the right balance of moisture, air, and heat, promoting efficient decomposition. Here are some common types of compost bins and their features:
- Plastic bins: Plastic compost bins are affordable, lightweight, and easy to assemble. They typically have a lid and ventilation holes to help regulate moisture and temperature. Some models have a bottom hatch for easy access to finished compost. Visit Gardening Know How for more information on plastic compost bins.
- Tumblers: Compost tumblers are enclosed, rotating drums that make turning the compost easy and mess-free. They are often more expensive than other types of bins but can produce compost faster due to their efficient aeration. Check out Planet Natural for an overview of compost tumblers.
- Wire mesh bins: Wire mesh compost bins are simple, inexpensive, and well-ventilated. They are easy to build and provide good air circulation, but may require more effort to turn the compost and keep pests out. Learn how to build your own wire mesh bin at Good Housekeeping.
- Wooden bins: Wooden compost bins are sturdy, long-lasting, and can be an attractive addition to your garden. They can be built from pallets, lumber, or cedar and may include removable slats for easy access to the compost. Find step-by-step instructions for building a wooden bin at This Old House.
Consider the size of your garden, the amount of waste you generate, and your physical abilities when choosing a compost bin. Regardless of the type you choose, remember that proper maintenance and the right balance of materials will be key to successful composting.
Step 3: Add the Right Materials
For a successful compost bin, it is essential to add a balanced mixture of green and brown materials. These materials provide the necessary nutrients for the microorganisms that break down the organic matter in your compost pile. Here is a more detailed look at these materials and their role in the composting process:
- Green materials: Green materials, such as fruit and vegetable scraps, coffee grounds, tea bags, grass clippings, and fresh plant trimmings, provide nitrogen, which is a vital nutrient for the growth and reproduction of microorganisms in the compost pile. Nitrogen-rich materials are often moist and can help maintain the necessary moisture levels for decomposition.
- Brown materials: Brown materials, like dry leaves, straw, small branches, wood chips, and shredded paper, supply carbon. Carbon serves as an energy source for microorganisms and helps maintain a proper balance of moisture and air in the pile. Brown materials are typically dry and can absorb excess moisture from green materials, preventing the compost from becoming too wet and compacted.
A good rule of thumb is to maintain a ratio of 3 parts brown to 1 part green materials by volume. This ratio ensures a balanced supply of nitrogen and carbon for the microorganisms, promoting efficient decomposition and producing nutrient-rich compost for your garden.
It is also essential to avoid adding materials that can introduce pathogens, attract pests, or inhibit decomposition. Examples of materials to avoid include meat, dairy products, oils, pet waste, and chemically treated wood. For a comprehensive list of materials to include and exclude from your compost bin, visit EPA's Composting at Home guide.
Step 4: Layer Your Compost
Layering your compost is an effective way to ensure proper aeration, drainage, and a balanced mix of green and brown materials. Here's a step-by-step guide to creating well-layered compost in your bin:
- Base layer: Start by adding a layer of coarse brown materials, like small branches or straw, to the bottom of your compost bin. This base layer should be approximately 4-6 inches thick and will help with aeration and drainage by creating air channels and allowing excess moisture to escape.
- Green layer: Next, add a layer of green materials, such as kitchen scraps, grass clippings, or fresh plant trimmings. This layer should be about 2-3 inches thick. Green materials provide nitrogen, which is essential for the growth and reproduction of the microorganisms responsible for decomposition.
- Brown layer: Follow the green layer with a 6-9 inch layer of brown materials, like dry leaves, straw, or shredded paper. Brown materials supply carbon and help maintain a proper balance of moisture and air in the pile.
- Repeat layers: Continue alternating layers of green and brown materials, maintaining the 3:1 ratio by volume. This will ensure a balanced supply of nitrogen and carbon for the microorganisms and promote efficient decomposition.
- Top layer: Finally, cover the pile with a 4-6 inch layer of brown materials to minimize odors, keep pests away, and maintain moisture levels. This top layer can also act as an insulating blanket, helping to maintain the temperature within the compost pile.
As you add new materials to your compost bin, make sure to maintain the layering structure and the 3:1 ratio of brown to green materials. Proper layering not only promotes efficient decomposition but also helps prevent common composting problems, such as unpleasant odors and slow breakdown of materials.
Step 5: Maintain Your Compost
Maintaining your compost bin is essential for promoting efficient decomposition and producing high-quality compost. Proper maintenance involves turning the pile, monitoring moisture levels, and addressing any issues that may arise. Here are some tips for maintaining your compost pile:
- Turning the pile: Regularly turn your compost pile every 1 to 2 weeks to ensure proper aeration, which is necessary for aerobic decomposition. Turning the pile also helps to distribute moisture evenly throughout the compost and prevents the formation of anaerobic pockets, which can cause unpleasant odors. Use a pitchfork or a compost aerator to mix and turn the materials.
- Monitoring moisture: Check the moisture levels in your compost pile regularly. A well-moistened pile should have the consistency of a damp sponge. If the compost appears too wet or too dry, adjust the green and brown material ratio accordingly. Add more brown materials to absorb excess moisture or sprinkle water over the pile if it is too dry.
- Temperature: Monitor the temperature of your compost pile, as it can provide insight into the decomposition process. A well-functioning compost pile will heat up to around 130-160°F (55-70°C) due to the activity of microorganisms. If the temperature is too low, consider turning the pile more frequently, adding more green materials, or insulating the pile with a layer of straw or leaves.
- Odors and pests: If you notice unpleasant odors or an influx of pests, ensure that you are not adding inappropriate materials to your compost bin, such as meat, dairy, or oils. Turning the pile regularly and maintaining the proper green-to-brown ratio can also help to alleviate these issues.
By carefully maintaining your compost bin, you can ensure that the decomposition process runs smoothly and efficiently. In about 3 to 6 months, depending on factors like climate and the materials used, you should have nutrient-rich compost ready to enrich your garden soil and support plant growth.
Benefits of Composting
Composting has numerous benefits for your garden, the environment, and even your wallet. By recycling organic waste into a valuable soil amendment, you can create a sustainable and eco-friendly gardening practice. Some key benefits of composting include:
- Improving soil structure and fertility: Compost improves the physical, chemical, and biological properties of the soil. It adds nutrients, increases water-holding capacity, and enhances soil structure, promoting healthy root growth and overall plant health.
- Reducing the need for chemical fertilizers: By providing a slow-release source of nutrients, compost reduces the need for synthetic fertilizers. This not only saves you money but also reduces the risk of nutrient runoff and water pollution.
- Conserving water: Compost helps retain soil moisture, reducing the need for frequent watering and conserving this precious resource. This can be particularly beneficial in areas with water restrictions or during periods of drought.
- Reducing greenhouse gas emissions: Decomposing organic waste in landfills produces methane, a potent greenhouse gas. By composting this waste instead, you can significantly reduce methane emissions and contribute to the fight against climate change.
- Supporting local ecosystems: Composting encourages the growth of beneficial microorganisms and earthworms, which in turn help to create a healthy, balanced soil ecosystem. This can lead to more resilient and productive gardens, supporting local biodiversity and wildlife.
By incorporating composting into your gardening routine, you can create a more sustainable and eco-friendly environment, both in your own backyard and beyond. For more tips on composting and sustainable gardening and environment , check out our Green Cleaning and sustainable lifestyle section.
Hinterlasse einen Kommentar
Diese Website ist durch hCaptcha geschützt und es gelten die allgemeinen Geschäftsbedingungen und Datenschutzbestimmungen von hCaptcha.