
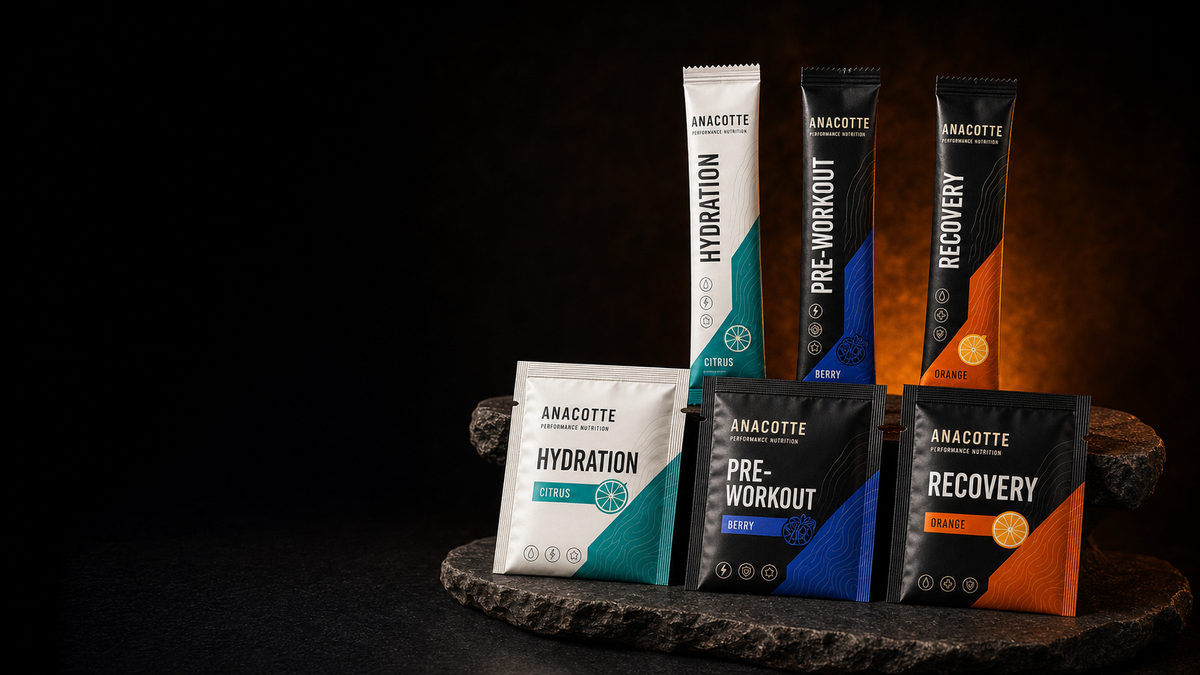
Single-serve supplement packaging can make a product easier to sample, carry, dose and distribute. It can also become an expensive source of waste if the pack is too tight, traps powder in the corners, tears poorly or cannot run on the co-packer's equipment. A good sachet project begins with the product and filling process, not with a visual reference alone.
This guide focuses on powdered sports nutrition products such as electrolytes, pre-workout, recovery blends, creatine and protein samples. The same basic workflow can inform other dry products, but the final material and filling specification should reflect the actual formula.
Quick Answer: Choose a supplement sachet by defining dose weight, occupied volume, powder flow, filling machine, barrier target and opening experience. Use a three-side- or four-side-seal sachet when you need a wider shape and more artwork space; use a stick pack when portability and controlled pouring are priorities. Confirm dimensions with the real powder, reserve clean seal areas, test tear behavior, and run a low-MOQ pilot before scaling multiple flavors.
Decide what job the sachet must do
Single-serve packaging can serve very different commercial goals. A retailer sample, an influencer mailer, a travel pack and a daily subscription product may use the same dose but require different presentation and run sizes.
Write one primary job for the pack:
- deliver an exact daily serving;
- provide a trial before a larger pouch purchase;
- support travel or gym-bag use;
- create a multi-flavor discovery pack;
- supply athletes at an event;
- provide buyer samples before a retail order.
That job determines how much artwork space, puncture resistance, tear control and secondary packaging the project needs.
Sachet or stick pack?
Both formats can hold powder, but they create different user and production experiences.
| Decision factor | Flat sachet | Stick pack |
|---|---|---|
| Shape | Wider, usually rectangular | Narrow and elongated |
| Artwork space | More room for claims and instructions | Limited front-panel area |
| Pour control | Broad opening after tearing | Often easier to pour into a bottle |
| Product fit | Useful for bulky or larger doses | Best when dose volume suits a narrow tube |
| Filling equipment | Sachet-specific forming or pre-made filling | Stick-pack machine commonly required |
| Discovery packs | Strong visual flavor cards | Compact and portable |
Do not choose a stick pack only because it looks athletic. A fluffy powder may need a stick so wide that the visual advantage disappears. Ask the co-packer which widths and seal patterns its machine supports before artwork begins.
Size from occupied volume, not dose weight
A “10 g sachet” is not a dimension. Ten grams of one electrolyte blend can occupy much less space than ten grams of a flavored protein or fiber product. Measure the actual powder volume and test it in nearby sample sizes.
The pack needs room for dosing variation and a clean seal. Powder in the seal area can reduce seal integrity. Narrow stick packs are especially sensitive because a small change in powder flow or static behavior can affect the top seal.
Use this sizing sequence:
- Weigh the intended serving.
- Measure its natural occupied volume without intentional compression.
- Confirm the co-packer's minimum and maximum pack width.
- Add headspace for dosing and sealing.
- Fill and seal real samples.
- Test pouring into the intended bottle, cup or mouth of a shaker.
For broader package sizing principles, see the protein powder pouch size guide.
Design the seal and opening experience
Seal geometry is functional space, not leftover margin. The side and end seals must accommodate the material, fill process and intended opening. A tear notch should start the tear without compromising package strength during distribution.
Test with different users. Some people will open the pack with dry hands in a kitchen; others may use sweaty hands on a trail. A notch that works in a controlled office test may still be difficult in context.
Decide whether the user should tear across the full width or create a smaller pouring opening. Check that the torn film does not leave a long loose strip that falls into a bottle. If the product must pour through a narrow bottle neck, test the cut opening against that exact diameter.
Select barrier around formula sensitivity
Dry does not mean insensitive. Hygroscopic powders can absorb moisture and cake. Flavors, fats, vitamins and other ingredients may be sensitive to oxygen or light. The package should be specified against a shelf-life target and distribution environment.
| Structure direction | Useful when | Main trade-off |
|---|---|---|
| Transparent high-barrier | Product visibility matters | Usually lower light protection |
| Metallized laminate | Strong general moisture, oxygen and light protection is desired | Opaque; metallic appearance may affect design |
| Aluminum-foil laminate | Very high barrier is required | Less flex-crack tolerance in some uses; higher cost |
| Simpler non-metal laminate | Shorter life or less sensitive product | Must be supported by performance needs |
Do not convert material names into promises. Ask for actual structure, thickness, intended use and barrier data. The high-barrier film guide explains OTR, WVTR and the difference between metallized and foil options.
The FDA defines food-contact substances and provides information on packaging oversight through its food-contact materials resources. Request supplier documentation relevant to the finished laminate and intended market.
Confirm filling-machine compatibility
Many sachets and stick packs are formed, filled and sealed from rollstock rather than filled as pre-made bags. The packaging artwork therefore depends on machine pitch, repeat length, eye marks, lane count and seal areas.
Ask the co-packer for:
- machine type and supported web width;
- finished pack width and length limits;
- number of lanes;
- seal pattern and seal width;
- registration or eye-mark requirements;
- dosing tolerance and target speed;
- acceptable laminate thickness and slip;
- whether nitrogen flushing is available or required.
If the co-packer has not been selected, avoid finalizing a proprietary dimension that few fillers can run. A technically elegant pack that cannot be filled economically is not a useful design.
Build artwork for a very small panel
Single-dose packaging creates a space constraint. The designer must establish a hierarchy between brand, flavor, dose, product identity, directions, lot coding and regulatory information. Some details may be placed on a secondary carton, but do not assume the individual unit is exempt from labeling requirements.
The FDA's dietary supplement labeling guide explains federal considerations, including product identity, net quantity, Supplement Facts and ingredient information. The FDA's 2025 food allergen labeling guidance also addresses certain individual units within multiunit packages. Obtain product-specific regulatory review before approving artwork.
Print the dieline at 100 percent. If critical copy is difficult to read on paper, it will not improve on a narrow sealed pack. Keep text away from crimp seals and folds, and reserve a clean area for variable date or lot coding if required.
Plan a multi-SKU system
Single-serve products often launch with several flavors. Use one master layout with controlled variable zones for flavor name, color, ingredients and barcode. Create a SKU map before production so every design can be compared line by line.
| SKU control field | Master or variable? | Approval owner |
|---|---|---|
| Brand mark and package geometry | Master | Brand lead |
| Flavor name and color | Variable | Marketing and QA |
| Supplement Facts and ingredients | Variable if formula differs | Regulatory/QA |
| Barcode | Usually variable | Operations |
| Lot/date area | Master position, variable code | Co-packer |
Digital printing can make lower quantities per flavor practical because it reduces dependence on individual print plates or cylinders. Review the digital versus gravure guide before choosing a production path.
Choose the right sample stage
A blank stock sachet can help estimate capacity and tear behavior, but it may not match the final laminate. A custom printed prototype can confirm artwork scale, finish and presentation. A pilot run is more appropriate when machine performance, dosing or pack-to-pack consistency must be tested.
Use a prototype to answer visual and dimensional questions. Use a line trial or pilot to answer production questions. Do not ask one handmade sample to prove high-speed filling performance.
The custom printed sample guide compares stock samples, custom prototypes and pilot runs.
Plan secondary packaging and distribution
Single-serve units often need a carton, pouch or display box. Decide how many units will be sold together and how the consumer organizes opened packs. A secondary stand-up pouch may provide retail presentation and moisture protection after the outer pack is opened.
Test pack count physically. Thirty sachets rarely stack like a perfect block because seals overlap and trap air. Measure the real stack thickness, rotate alternating seals if appropriate, and validate the secondary package with filled units.
For ecommerce, place finished packs in the intended mailer and run realistic handling checks. Sharp sachet corners can abrade neighboring packs, and loosely packed units can shift in transit.
Estimate costs without focusing on unit price alone
Project economics include printing, material, conversion, filling setup, SKU changes, proofs, secondary packaging and freight. A narrow stick pack may use less film but cost more to fill if the co-packer requires a special setup. A multi-flavor run may have a competitive total but higher per-SKU preparation costs.
Compare the cost of learning. A 500-unit-per-SKU pilot can be more valuable than a cheaper 20,000-unit commitment if it reveals the winning flavor and prevents obsolete artwork.
Common sachet mistakes
Frequent errors include selecting dimensions from grams alone, ignoring machine limits, crowding regulatory copy, placing the tear notch through critical artwork, using a material without product-specific barrier support, and creating a separate uncontrolled layout for every flavor.
Another mistake is approving a pack that pours well into a wide cup but poorly into the customer's actual bottle. Test the complete use scenario.
Frequently asked questions
What is the minimum order for custom printed sachets?
It depends on format, dimensions, printing method and filler. Anacotte supports low-MOQ packaging programs, but rollstock and filled sachet projects may have different minimums from pre-made pouches. Share the number of SKUs and quantity per SKU for an accurate path.
Is a stick pack cheaper than a sachet?
Not automatically. It may use less material, but filling equipment, lane setup, waste and artwork preparation can change total cost. Compare a complete converted-and-filled quotation.
Can a sachet use a transparent window?
Possibly, but the window can reduce light barrier and may complicate the structure. Confirm formula sensitivity and request performance data before choosing visibility over protection.
Do I need different dielines for each flavor?
Not usually if dimensions and structure are identical. Use one master dieline and separate artwork files with clearly controlled variable content.
Should I start with custom prototypes or a pilot run?
Choose prototypes when artwork, finish and size are the open questions. Choose a pilot when filling performance, dosing, sealing or market response must be tested.
Plan your single-serve packaging test
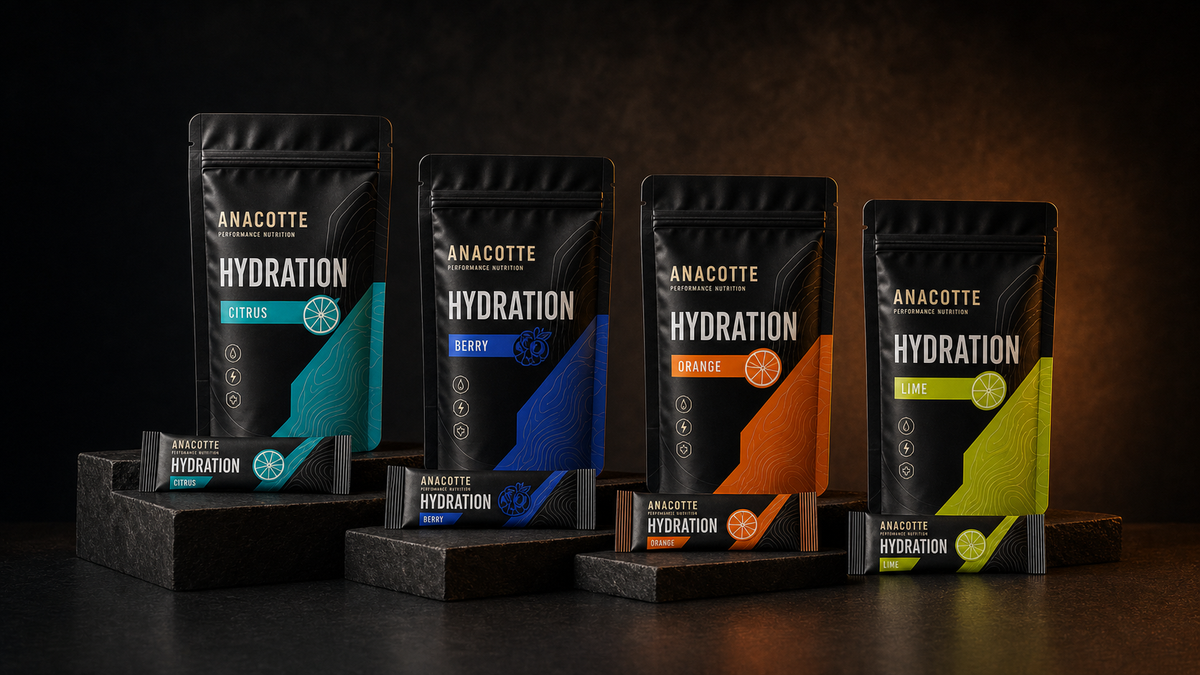
To receive a practical recommendation, provide dose weight, occupied volume, powder characteristics, intended pack format, number of SKUs, co-packer equipment, artwork status and launch date through the Anacotte project form. If specifications are already production-ready, request a quotation through Anacotte Packaging.

Leave a comment
This site is protected by hCaptcha and the hCaptcha Privacy Policy and Terms of Service apply.